

You've poured a well-regarded American whiskey, read the tasting notes, and found none of them in the glass. Where the bottle promises leather, tobacco, baked apple, or toasted oak, you taste alcohol, sweetness, and perhaps a little spice. That experience is normal, especially for new whiskey drinkers.
A trained palate isn't a mysterious gift reserved for distillers, judges, or professional critics. You can develop it through repeated attention, comparison, and deliberate practice. This guide uses a drill-based approach for American craft whiskey, with practical exercises that help you separate aroma, taste, texture, proof, and finish without turning every pour into an exam.
Why Whiskey Tasting Is a Skill You Can Learn
Complex tasting language can make whiskey feel like a private conversation you weren't invited to. A bottle description might mention saddle leather, tobacco leaf, orange peel, cinnamon, or roasted pecan, while your own glass seems to offer only “bourbon.” That doesn't mean your senses are failing. It usually means you haven't built enough flavor references to make those comparisons useful.
Tasting works more like learning an instrument than discovering a hidden talent. A musician learns to hear intervals by practicing them repeatedly. A whiskey drinker learns to recognize rye spice, malt sweetness, char, fruit, and oak by encountering those sensations, comparing them, and giving them names.
Recognition comes before preference
The first target isn't to like every style. It's to notice what is present. You may identify a flavor clearly and still dislike it. That distinction matters because palate training improves recognition, not necessarily preference.
A 2022 randomized study divided 42 healthy adults into training and control groups and found that a 3-day taste recall program improved sensitivity across sweet, salty, sour, and bitter tastes in the training group. The study also reported that improvement increased with each additional training session, supporting the value of short, focused repetition rather than passive drinking. Read the randomized taste-recall study
Practical rule: Don't ask, “Do I taste the exact note on the label?” Ask, “What sensation is strongest, and what familiar thing does it remind me of?”
That shift removes pressure. If a Frey Ranch bourbon reminds you of corn cereal, fresh bread, or dried fruit rather than the producer's preferred wording, your observation can still be accurate and useful. Tasting notes are comparison tools, not answers you have to reproduce.
A better definition of a good palate
A good palate notices changes. It can tell that one whiskey is sweeter, another feels hotter, a third carries more oak, and a fourth leaves a longer aftertaste. It also knows when confidence is low.
The most useful habit is focused comparison. Taste the same kind of sensation in different settings, record what you notice, and revisit it later. Over time, your memory becomes more organized, and tasting vocabulary becomes less intimidating.
Setting Up Your Palate Training Ground
Palate training improves when the surroundings stop competing with the whiskey. Strong cooking aromas, scented candles, smoke, perfume, noisy conversation, and recently eaten spicy food can all distract you from delicate aromas. Choose a clean room, neutral lighting, and a surface where you can place samples, water, and notes without crowding the glass.
Use a tulip-shaped whiskey glass, such as a Glencairn, rather than a wide tumbler for structured tasting. Its shape gathers aromas near the opening, making it easier to nose the whiskey before you taste it. If you're choosing glassware for a home setup, this guide to the best whiskey glass offers a useful starting point.
Use a consistent tasting sequence
Keep the process simple and repeatable:
- Nosing: Smell the whiskey gently, first from a short distance and then closer. Look for broad families such as grain, fruit, spice, wood, floral notes, or smoke before chasing a specific ingredient.
- Palate: Take a small sip and move it across your mouth. Notice sweetness, bitterness, heat, weight, dryness, and texture before trying to name flavors.
- Finish: After swallowing, observe what remains and how it changes. The finish is the sensation after swallowing, and tasting guides commonly describe a short finish as under 10 seconds and a long finish as 30 seconds or more. Use this whiskey tasting guide for finish terminology
For new whiskey drinkers, start with a 15–20 ml pour of a whiskey around 40–47% ABV, then move toward stronger expressions once your senses are comfortable. This approach can reduce ethanol burn and give you a clearer starting point for identifying aroma and flavor. See the beginner pour and proof guidance
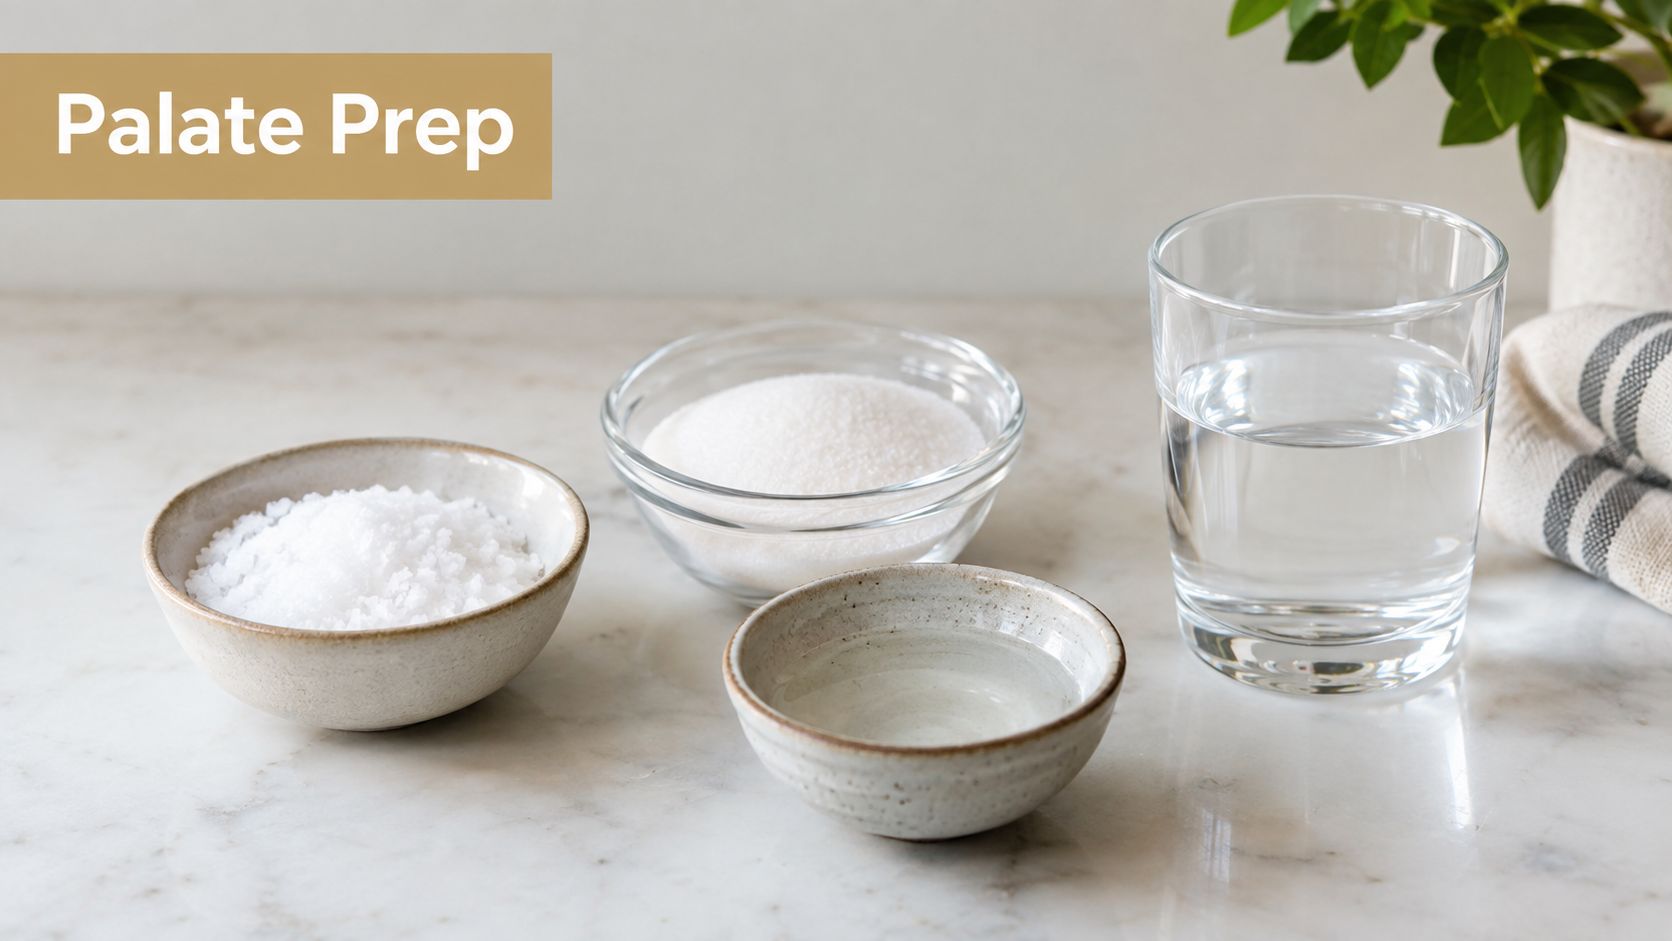
Prepare simple palate references
You don't need an expensive sensory kit. Put a few familiar items on the table, such as sugar, salt, citrus peel, vanilla, cinnamon, toasted bread, dried fruit, and a small dish of coffee. Smell each item separately before tasting whiskey so your brain has a concrete reference available.
Drink water between samples. Avoid trying to train while dehydrated, immediately after a heavily seasoned meal, or when fatigue has made concentration difficult. The aim is not to force more whiskey into a session. It's to make each small sip informative.
Core Exercises to Build Sensory Muscle
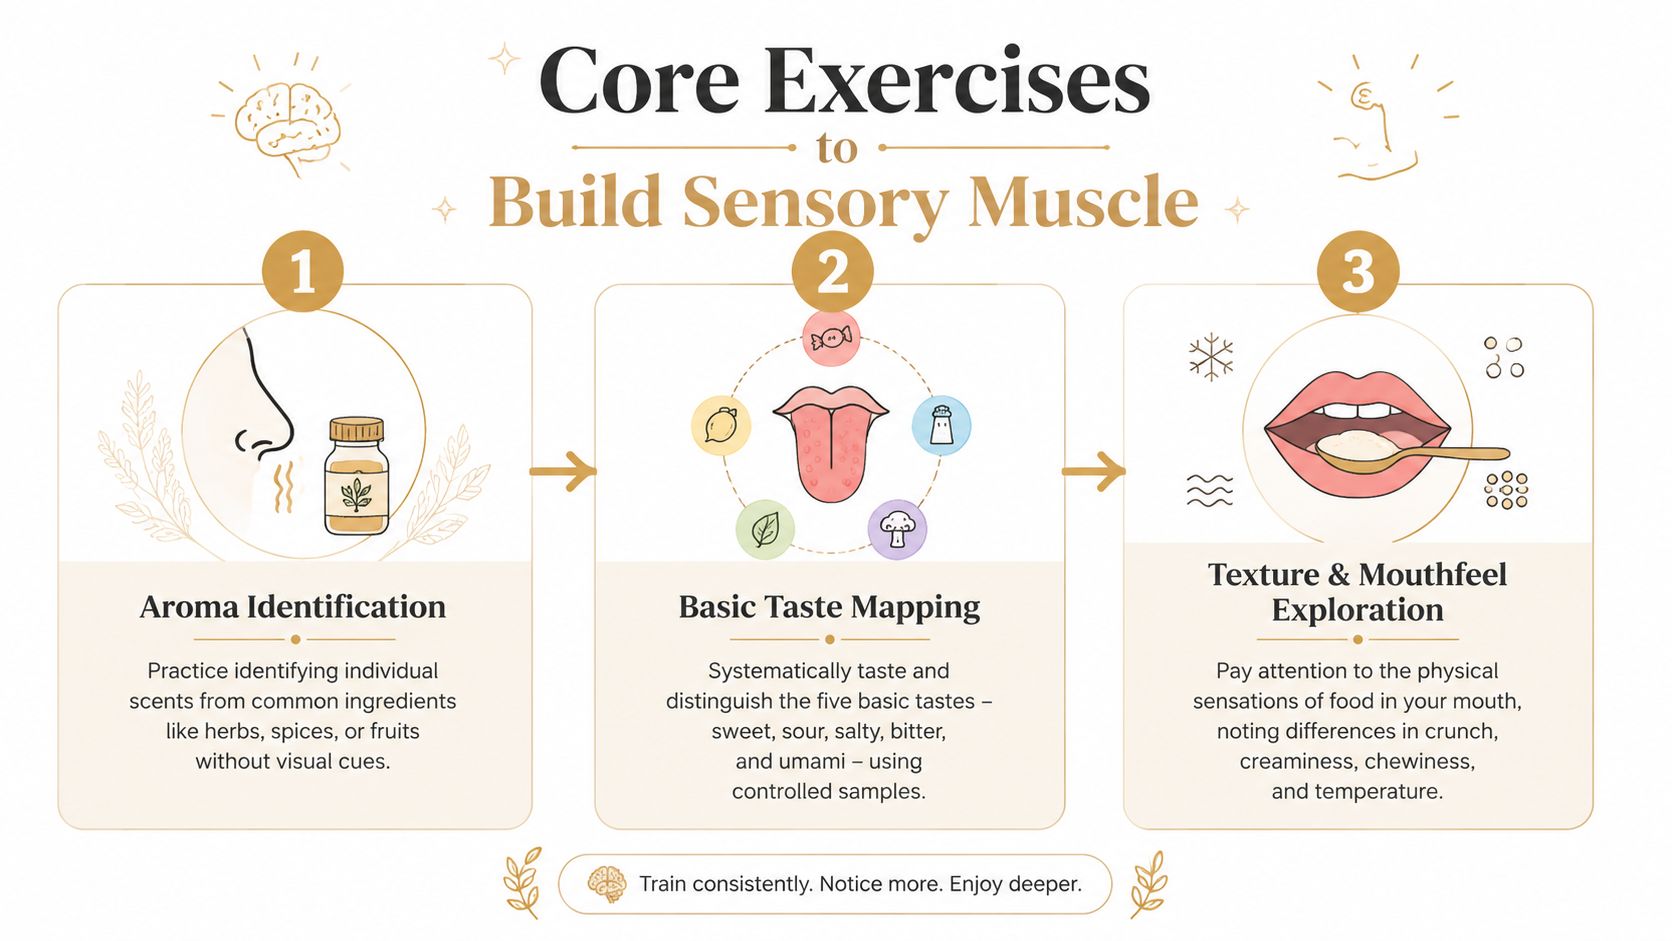
A useful practice session begins away from the bottle. Put a few ingredients on the counter and work through them as references, then apply the same attention to an American craft whiskey.
Drill one with aroma isolation
Ask someone to place a spice, herb, fruit peel, or grain in an unlabeled cup. Smell it without looking and identify the broad category first. “Fruit” is a good answer before “apple,” and “baking spice” is useful before “cinnamon.”
Then nose the whiskey and search for one family at a time. With a softer, grain-forward bourbon from Frey Ranch, you might investigate cereal, corn, vanilla, caramel, or dried fruit. Don't hunt for all of them at once. Select the clearest impression, smell the reference ingredient, and return to the glass.
This builds a connection between an actual aroma and the word you use for it. A flavor reference guide can help outside whiskey too, especially if coffee is part of your daily routine. Use this resource on understanding coffee flavor profiles to practice identifying roast, fruit, spice, and sweetness in another beverage.
Drill two with palate mapping
Taste controlled samples of sweet, salty, sour, bitter, and umami sensations separately. The point isn't to prove that each taste lives in one isolated tongue zone. Instead, pay attention to when each sensation appears, how intense it feels, and whether it changes after you swallow.
With whiskey, ask four questions:
- Does sweetness arrive first or develop later?
- Does bitterness feel like dark chocolate, char, or oak?
- Does alcohol heat spread quickly or build gradually?
- Does the whiskey feel thin, creamy, oily, dry, or dense?
Write physical observations before flavor guesses. “Drying on the sides of my mouth” gives you a stronger training record than “tastes complicated.”
Drill three with side-by-side contrast
Pour two different American craft styles next to each other. A sweet, mellow wheated bourbon from Frey Ranch beside a spicy rye from Southern Star creates an accessible contrast. Taste the first, then the second, and return to the first while actively looking for every difference.
The comparison may reveal softer grain sweetness in one glass, sharper spice in the other, different levels of oak, or contrasting mouthfeel. A side-by-side pour is more informative than drinking either whiskey alone because your senses have a live reference point.
Finish by recording the aftertaste. Notice whether spice, oak, fruit, or dryness remains, and whether the sensation disappears quickly or continues to evolve. The finish is not an afterthought. It can separate two whiskeys that seem similar on the first sip.
Accelerate Your Skills with Blind Tasting Drills
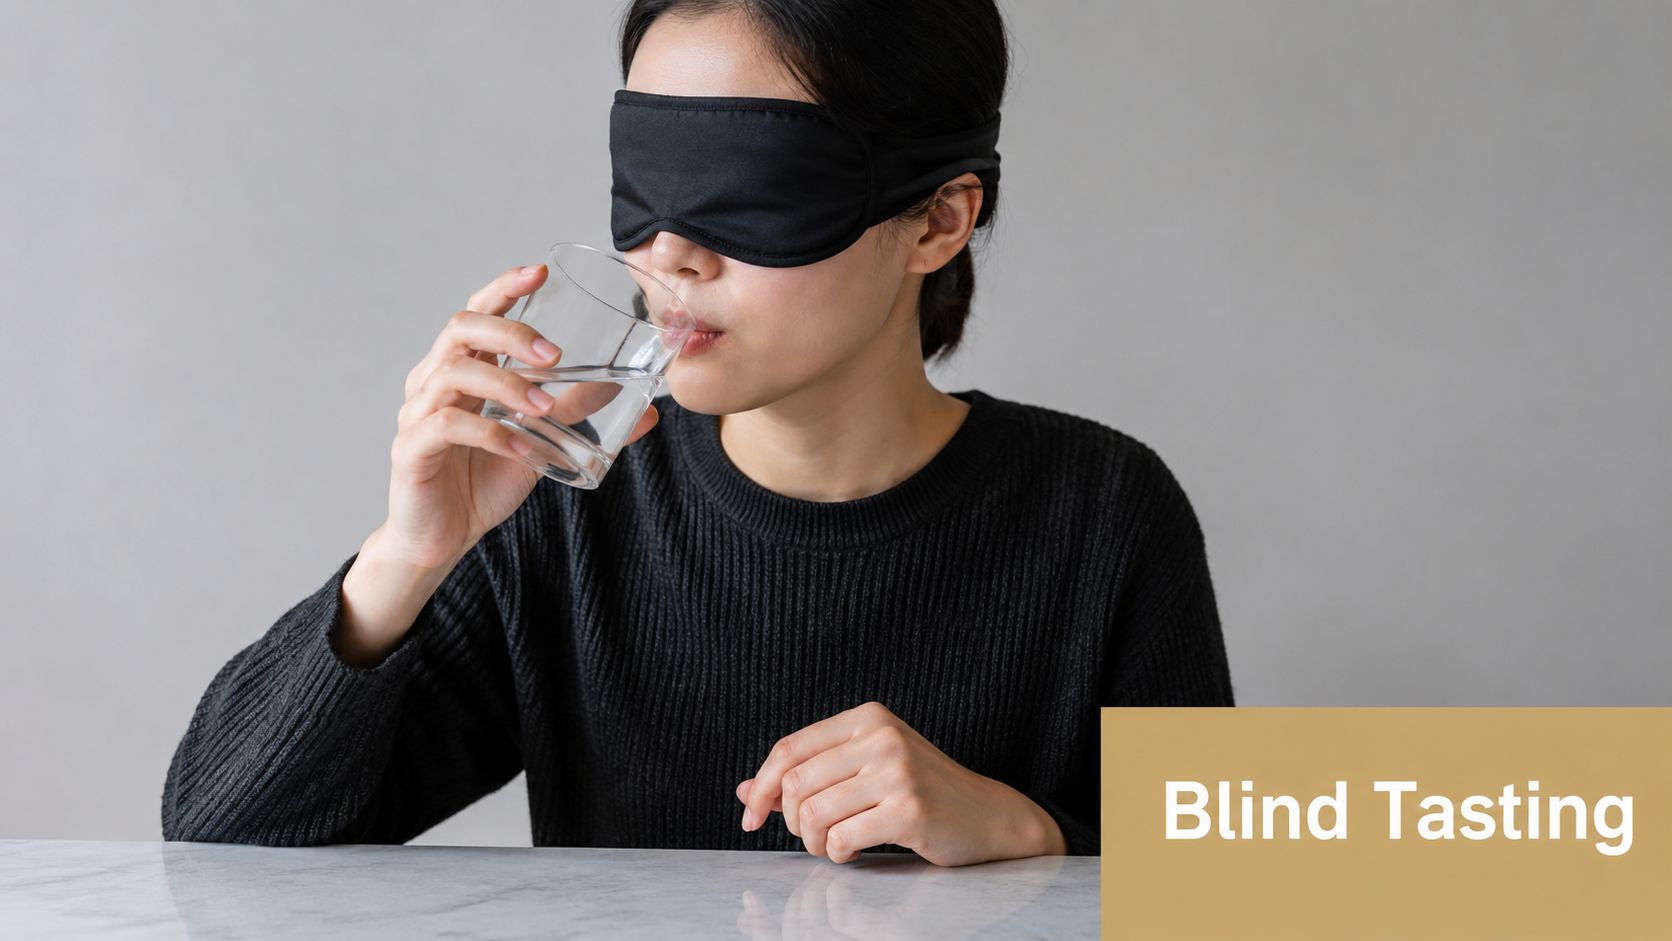
Blind tasting is the fastest way to expose what your palate recognizes because it removes information your brain may use as a shortcut. A familiar label, premium price, famous distillery, age statement, or attractive bottle can create expectations before the whiskey reaches your mouth. Remove those cues, and you have to rely on aroma, taste, texture, and finish.
Blind tasting doesn't guarantee correct guesses. That's precisely why it works. A wrong guess gives you a clear learning opportunity when the identity is revealed, especially if you compare your notes with the actual style, proof, age statement, or mashbill afterward.
Start with a simple triangle test
Pour three coded glasses. Two contain the same whiskey, and one contains a different whiskey. Ask yourself which glass is the outlier, then explain why before checking.
The explanation matters more than the result. You might notice that one sample smells more floral, feels hotter, tastes sweeter, or leaves a drier finish. If you can't find the different sample, compare the glasses again and describe what your senses do detect. This keeps the drill analytical instead of turning it into a guessing game.
Use similar whiskeys at first, such as two bourbons with comparable strength. Later, narrow the contrast by comparing different batches or distilleries. A structured guide to blind whiskey tasting can help organize the setup.
Run a style showdown
Place a bourbon, a rye, and an American single malt in coded glasses. Taste them in alternating order, not by finishing one before starting the next. Look for broad structural differences first:
- Grain character: Does the whiskey suggest corn sweetness, rye spice, or malted grain?
- Aroma profile: Are fruit, vanilla, herbs, cereal, smoke, or wood most prominent?
- Texture: Does the spirit feel light, oily, creamy, drying, or hot?
- Development: Does the finish add spice, oak, sweetness, or bitterness?
A key training tactic is to compare whiskies side by side rather than in isolation, actively searching for small differences in aroma and taste. See this side-by-side whiskey comparison method
Delay the reveal
Don't look up the answer after the first sip. Write a short profile, make a style guess, and record your confidence. Then reveal the samples and compare your notes with the actual information.
The useful question isn't “Was I right?” It's “What did I consistently notice?” If you identify rye spice but miss the proof, keep training those separately. If you recognize oak but confuse bourbon with American single malt, your next drill should place those styles together.
Blind Barrels offers a subscription format built around four blind samples from small American craft distilleries, with a tasting table, a reveal QR code, and a scoring game based on guesses such as age, proof, and whiskey type. It fits naturally into a group tasting because each person can record a judgment before the reveal.
Your Four Week Whiskey Training Schedule
A schedule keeps palate training from becoming an occasional ambition. Use one or two sessions per week, keep pours small, and repeat exercises often enough that you can compare your notes over time.
| Week | Focus | Exercise, 1-2 sessions per week |
|---|---|---|
| 1 | Aroma and basic taste | Smell labeled references such as fruit, spice, grain, vanilla, and toasted wood. Taste controlled sweet, salty, sour, bitter, and umami references. Finish with one approachable whiskey and record its broad aroma and texture. |
| 2 | Structure and finish | Taste two American craft whiskeys side by side. Record nose, palate, mouthfeel, finish length, and any flavors that appear after swallowing. |
| 3 | Style discrimination | Run a blind comparison between bourbon, rye, and American single malt. Make style guesses before seeing the bottles, then compare your reasoning with the reveal. |
| 4 | Retention and calibration | Repeat a previous comparison after a break. Add a triangle test and review your earlier notes before writing a final profile. |
Keep a tasting journal that separates observation from interpretation. Write down the whiskey's identity after the reveal, but don't let the label lead your first impressions.
Record what your senses actually do
Use the same prompts every time:
- Aroma: broad family first, then specific reference
- Palate: sweetness, bitterness, spice, acidity-like sharpness, and alcohol heat
- Texture: light, oily, creamy, drying, coating, or rough
- Finish: what remains, what changes, and how long it lasts
- Prediction: style, proof range, age impression, and confidence
- Preference: what you enjoyed, tolerated, or would avoid
Sensory education can produce durable learning. One study reported statistically significant gains in taste and odor recognition after training, with the effect persisting without further stimulation. Review the sensory education findings
A journal also protects you from a common mistake, changing your opinion to match someone else's tasting note. Your first description may be rough, but it gives you a baseline. After several sessions, patterns become easier to spot, and your vocabulary starts serving your senses rather than replacing them. For a practical tasting setup, use a dedicated whiskey tasting kit with space for structured notes and sample comparisons.
Discovering What You Genuinely Enjoy
Palate training should improve your choices at the glass, not your ability to recite obscure aromas. You might prefer bright fruit and soft grain over heavy oak, or enjoy rye spice only when the finish remains balanced. Those preferences matter even when your notes sound nothing like a professional review.
The drills separate recognition from approval. You can identify char, bitterness, or ethanol heat without liking them. You can also respect the work in a whiskey that does not fit your taste. That distinction keeps marketing language and reputation from deciding for you.
Use the training plan to sample small producers, compare mashbills, and revisit styles that initially surprised you. A blind flight with a partner or a few friends adds another useful check. Other tasters may notice a contrast you missed, while your notes show which observations remain consistent across sessions.
Keep the process demanding but enjoyable. Accuracy grows through repeated, spaced practice, direct comparison, and honest descriptions, not through pressure or one dramatic tasting. Over time, whiskey becomes more individual, easier to understand, and more enjoyable.
Blind Barrels sends quarterly blind tasting kits with four samples from small American craft distilleries, tasting guidance, reveal details, and a scoring game for your guesses. Visit Blind Barrels to turn a whiskey session into a structured palate-training exercise.